Visualize
Introduction
The robotont_description packages provide the complete robot models used across the Robotont software ecosystem. They define the robot’s physical structure, kinematics, visual appearance, and collision properties using a combination of URDF (Unified Robot Description Format), Xacro macros, and associated meshes and configuration files.
These packages serve as the foundation for simulation, visualization, and downstream control components. Whether you are running Robotont in Gazebo, RViz, or a custom application, robotont_description packages ensure that all tools share a consistent and accurate representation of the platform.
Packages description
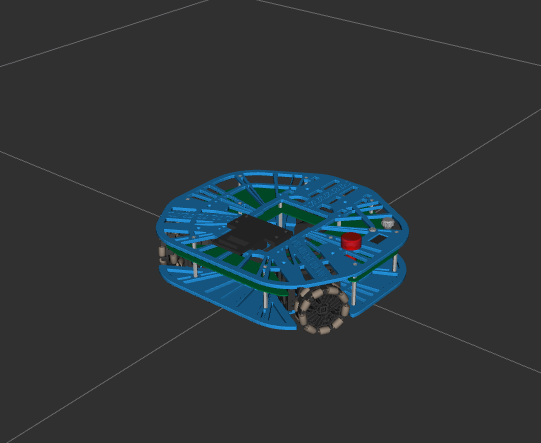
This package provides the canonical robot model used throughout tutorials, simulations, and general development. It includes the core chassis, wheels, default sensor frames, and all geometry required for visualization and simulation. Use this model when targeting the standard Robotont configuration without hardware-specific extensions.
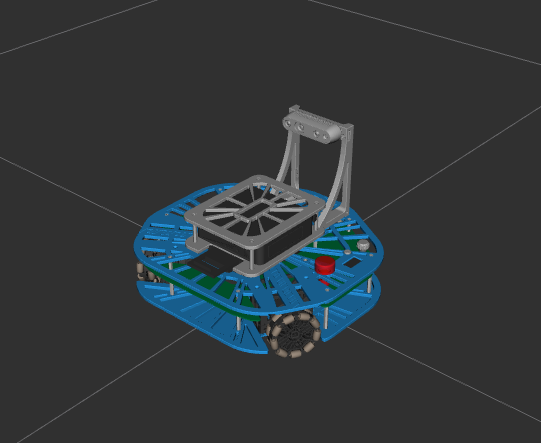
This variant extends the base robot description to reflect the hardware layout of Robotont units that integrate an Intel NUC as the main compute module together with an Intel RealSense D435i depth camera. The package adds the corresponding mechanical structures, sensor mounts, and TF frames, ensuring accurate geometry, mass properties, and sensor placement for simulation and real-robot integration.
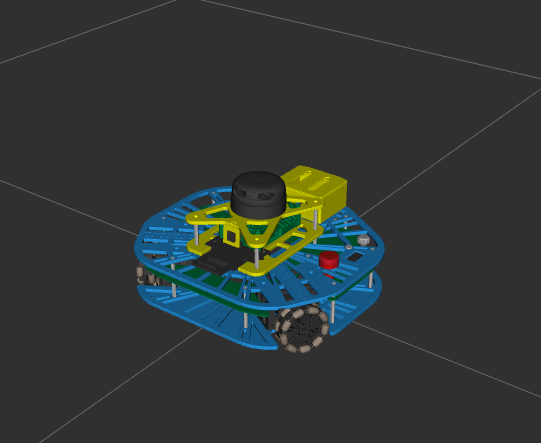
This package provides the robot model for the Robotont Lite variant. It includes the LiDAR sensor and its associated frames and mounts instead of the depth camera used in the NUC configuration. Use this description whenever you are working with a Robotont Lite robot or simulating the Lite platform with LiDAR-based perception.
Cloning, Building and Visualizing
Make sure you have followed the instruction presented in Prerequisites.
Navigate to the src folder of your workspace
cd ~/your_ws/src
And clone the required repository:
git clone https://github.com/robotont/robotont_description.git
After cloning, return to the root of your workspace and build:
cd ~/your_ws
colcon build
Once the build completes, source your setup file:
source install/setup.bash
After building and sourcing your workspace, you can open RViz with the Robotont model preloaded by running:
ros2 launch robotont_description display_robot_model.launch.py
Tip
If you want to visualize the robot using a different frame color (primary_color), you can select from the following predefined options: blue, light_blue, purple, yellow, green, dark_green, black, gray.
ros2 launch robotont_description display_robot_model.launch.py primary_color:=light_blue
Navigate to the src folder of your workspace
cd ~/your_ws/src
And clone the required repository:
git clone https://github.com/robotont/robotont_nuc_description.git
After cloning, return to the root of your workspace and build:
cd ~/your_ws
colcon build
Once the build completes, source your setup file:
source install/setup.bash
After building and sourcing your workspace, you can open RViz with the Robotont model preloaded by running:
ros2 launch robotont_nuc_description display_robot_model.launch.py
Tip
If you want to visualize the robot using a different frame color (primary_color) and/or a different RealSense module color (secondary_color), you can select from the following predefined options: blue, light_blue, purple, yellow, green, dark_green, black, gray.
ros2 launch robotont_nuc_description display_robot_model.launch.py primary_color:=light_blue secondary_color:=purple
Navigate to the src folder of your workspace
cd ~/your_ws/src
And clone the required repository:
git clone https://github.com/robotont/robotont_lite_description.git
After cloning, return to the root of your workspace and build:
cd ~/your_ws
colcon build
Once the build completes, source your setup file:
source install/setup.bash
After building and sourcing your workspace, you can open RViz with the Robotont model preloaded by running:
ros2 launch robotont_lite_description display_robot_model.launch.py
Tip
If you want to visualize the robot using a different frame color (primary_color) and/or a different Raspberry Pi module color (secondary_color), you can select from the following predefined options: blue, light_blue, purple, yellow, green, dark_green, black, gray.
ros2 launch robotont_lite_description display_robot_model.launch.py primary_color:=light_blue secondary_color:=purple
Controlling the Robot
If you want to control your robot in simulation, you can directly go to this page: Simple Simulator.