Using the robot with a user PC
This setup tutorial will guide you through setting up your PC to use it with Robotont.
Setting up the PC
Installing Ubuntu
Download and install Ubuntu Linux on your PC from the following link: Ubuntu 20.04.6 LTS (Focal Fossa).
The guide to install Ubuntu on your PC can be found here.
Installing ROS
Install ROS Noetic by following the guide: ROS Noetic.
Creating a catkin workspace
Create a workspace for catkin as shown here.
Cloning Robotont’s packages
All Robotont’s packages can be accessed from Robotont’s GitHub.
Packages necessary to run the demos from PC’s terminal are following:
You can find the demos from the following repositories:
See the Demos on Robotont for more information about the demos.
To clone the packages:
git clone https://github.com/robotont/package_name.git
Building the catkin workspace
cd catkin_ws
catkin build
Sourcing the workspace
Make the workspace visible to ROS (must be done for every new terminal)
source ~/catkin_ws/devel/setup.bash
For automatic sourcing:
echo "source ~/catkin_ws/devel/setup.bash" >> ~/.bashrc
Network Setup
In order to work with Robotont one of the most convenient ways is to build a network connection between the robot and your PC.
There are different ways in which you can connect to the robot remotely.
AP connection
Client connection
AP connection
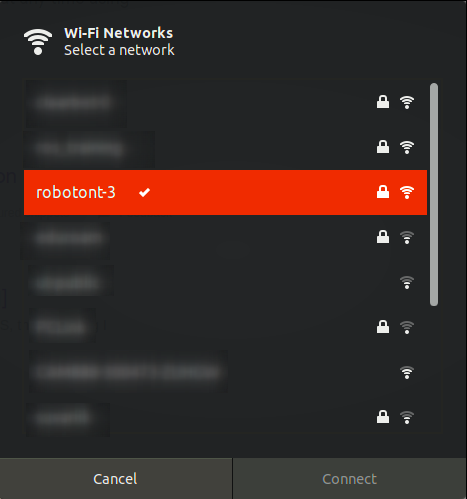
Access Point (AP) connection involves connecting directly to the robotont’s own network.
This method allows for direct communication with the robot without needing an external network infrastructure and is the easiest way to connect to the robot.
The topology of the network can be seen in the following image:

You can achieve this by connecting the user PC to Robotont’s network.
Client connection
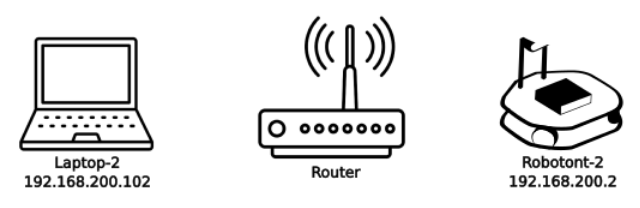
This method involves connecting the robot and the user PC to the same network. The user PC can then connect to the robot using the robot’s IP address or hostname.
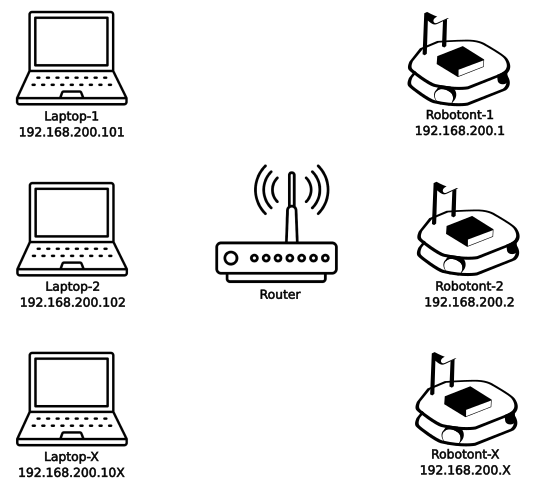
This approach can be used to have multiple Robotonts and PCs within the same network. That is particularly helpful when setting up a classroom with multiple Robotonts.
IP addresses and Hostnames
Both AP and Client connection methods can be used with either an IP address or a hostname based setup.
If you opt for an IP-address based setup, you can skip the hosts file setup.
In the following examples, we assume the Robotont and the PC having the following configuration:
Machine |
Hostname |
IP-address |
Netmask |
|---|---|---|---|
Robotont |
robotont-1 |
192.168.200.1 |
255.255.255.0 |
PC |
laptop-1 |
192.168.200.101 |
255.255.255.0 |
Hostname based setup
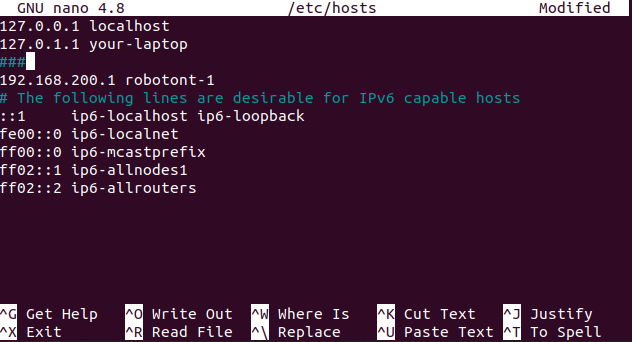
In the hostname based configuration, the robot and PC query each other via hostnames. It means that both hosts need to have each other’s names associated with IP addresses. These hostname <–> IP pairs are defined in the /etc/hosts file. Use your favorite text editor and make sure the following entries exist.
/etc/hosts on Robotont on-board computer:
127.0.1.1 robotont-1
192.168.200.101 laptop-1
/etc/hosts on PC:
127.0.1.1 laptop-1
192.168.200.1 robotont-1
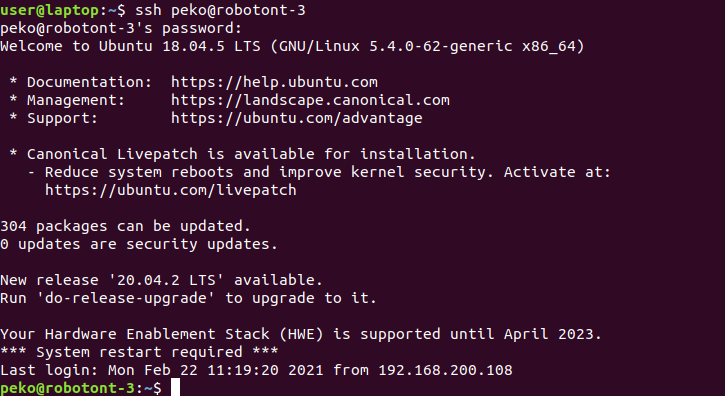
SSH
SSH is a secure way to connect to the robot and run commands on it. It is a good way to check the status of the robot and to run commands on it.
It can be done using the IP address of the robot or the hostname.
You can achieve this by following the steps below:
Open a new terminal window
Connect the user PC to Robotont’s network.
Establish an ssh connection with either IP address or hostname.
If you set up the hosts file (change the X with the ID written on the robot):
ssh peko@robotont-X
Otherwise, use the IP address:
ssh peko@ip_of_the_robot
If a yes/no question is asked, enter yes
Enter the password
When logged in successfully, you can see that the terminal prompt has changed to peko@robotont-X. This will be an important reference when trying to figure out which terminal is connected to where.
After logging into the robot, the ROS environment should be automatically sourced for you. You can quickly display the last lines of the file with tail ~/.bashrc command to examine which workspaces are sourced.
Distributed ROS
The ROS environment can be distributed across multiple machines. This means that the ROS Master can be running on one machine, while the nodes are running on another. This is useful when the robot has limited computational resources and the user wants to run the nodes on a more powerful machine.
Hostname based approach
We need to tell the PC to look for a ROS Master on Robotont. We do that by modifying a special environment variable named ROS_MASTER_URI, which by default points to localhost.
on PC, open a terminal and enter:
export ROS_MASTER_URI=http://robotont-1:11311
Now all ROS nodes you run in this terminal will connect to the Master on the Robotont. Test it with e.g. rosnode list. Note that the environment variable has to be set for each terminal window! To make it automatic, you can add the line to the end of the .bashrc file in the home directory of the PC:
echo 'export ROS_MASTER_URI=http://robotont-1:11311' >> ~/.bashrc
IP address based approach
To set up the ROS environment with an IP based setup, the ROS_IP environmental variable has to be set on both sides.
on Robotont on-board computer:
Add the user PC’s IP address to the ROS_IP environment variable.
export ROS_IP=192.168.200.101
on PC:
Add the robot’s IP address to the ROS_IP environment variable.
export ROS_MASTER_URI=http://192.168.200.1:11311
export ROS_IP=192.168.200.101
Similarly to the hostname based setup, append the commands to .bashrc to set the variables automatically.